Amazon Corretto 8

UPDATE! I have updated the option of running Corretto in Docker to using the amazoncorretto Docker image available from Docker Hub.

Amazon Corretto is a production-ready distribution of OpenJDK with long-term support including performance- and security updates provided by Amazon.

Tweet announcing Amazon Coretto 8

Amazon provides installation packages and instructions for Linux, Windows, and macOS, as well as a Docker. The latest installation package is based on OpenJDK version 1.8.0_202:

$ java -version
openjdk version "1.8.0_202"
OpenJDK Runtime Environment Corretto-8.202.08.2 (build 1.8.0_202-b08)
OpenJDK 64-Bit Server VM Corretto-8.202.08.2 (build 25.202-b08, mixed mode)
$

If you don’t want to, or isn’t able to install Corretto on your workstation, t is pretty straightforward to try it out using Docker:

$docker run -it amazoncorretto

bash-4.2# java -version
openjdk version "1.8.0_202"
OpenJDK Runtime Environment Corretto-8.202.08.1 (build 1.8.0_202-b08)
OpenJDK 64-Bit Server VM Corretto-8.202.08.1 (build 25.202-b08, mixed mode)

bash-4.2#

Amazon Corretto is licensed under the same license as OpenJDK (GPLv2 with CPE) and there are no costs associated with using it. Amazon will provide quarterly security updates to Corretto 8 at least until June 2023.

But Java 8 is sooo old!

Relax, Amazon plans to make Corretto 11 available during the first half of 2019. Corretto 11 will be based on OpenJDK 11.

A First Look at Oracle Functions

I am super happy to have gotten the opportunity to test out Oracle Functions through the Cloud Native Limited Availability Program. When I last tried out running serverless functions in Oracle Cloud during the Oracle Groundbreaker APAC Tour last year, there were two options available. Either run my own Fn server in a virtual machine or set it up in a managed Kubernetes cluster. Now, a third option is available!

Oracle Functions is built on Oracle Cloud Infrastructure (OCI) and offer a managed environment for the Fn project. This means that you don’t have to manually manage an Fn cluster yourself. It also means that any function that runs on Oracle Functions will also run on any Fn server, something that offers you full flexibility.

The Fn project supports functions written in Go, Java, Node.js, Python or Ruby. The fn-duke function that I am using in this test is, of course, written in Java.

package eu.agilejava.fn;

public class HelloFunction {

    public String handleRequest(String input) {
        String configuredName = System.getenv("name");
        String name = (input == null || input.isEmpty()) ? configuredName  : input;
        return "Hello, " + name + "\n";
    }
}

Deployment is done by pointing to the Function Application you want your function to be part of.

fn deploy --app FunctionDuke

The function can be configured through the func.yaml file or using the fn CLI tool as shown here:

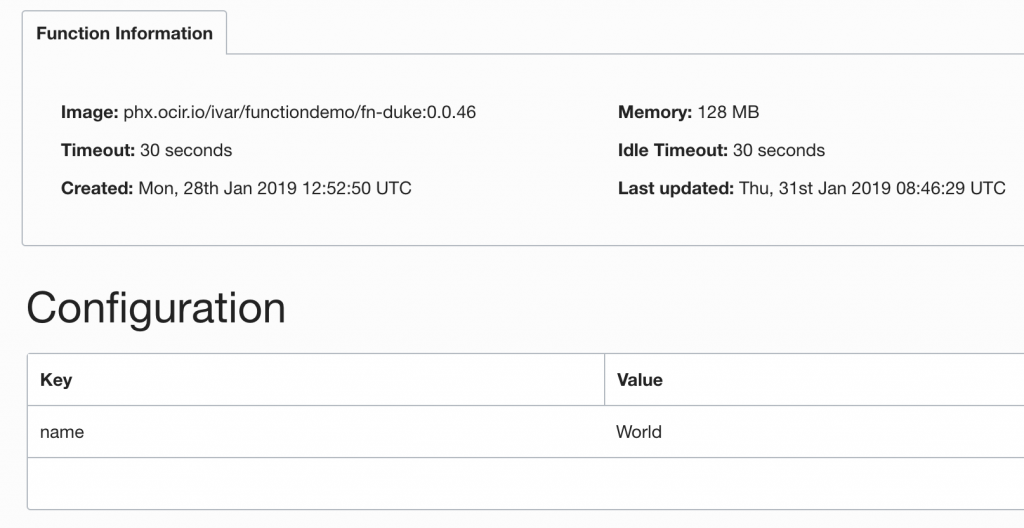
fn config function FunctionDuke fn-duke name World

The configured property will then be shown in the detail view in your Oracle Cloud Function Dashboard.

Invoking the function can be done by using the Fn CLI Tool

fn invoke FunctionDuke fn-duke

Or by sending a signed request using a convenience script called oci-curl provided by Oracle.

oci-curl "x3vzdahhy3a.us-phoenix-1.functions.oci.oraclecloud.com" get "/t/fn-duke-trigger" -d 'Duke'

Conclusion

Oracle has made a good choice when investing in the Fn project and use it as a basis for the Oracle Functions platform. It integrates extremely well with Fn and no extra tooling is needed to get started.

Eclipse GlassFish 5.1 is here!

The release of Eclipse GlassFish 5.1 is an important milestone for Jakarta EE!

First of all, it is a confirmation that the GlassFish source code contributed by Oracle is possible to build and assemble on Eclipse Infrastructure.

Second, by passing the Java EE 8 Compatibility tests, it verifies that the code contributed follows the Java EE 8 specifications, hence is Java EE 8 Compatible.

Download Eclipse GlassFish 5.1 and give it a try!

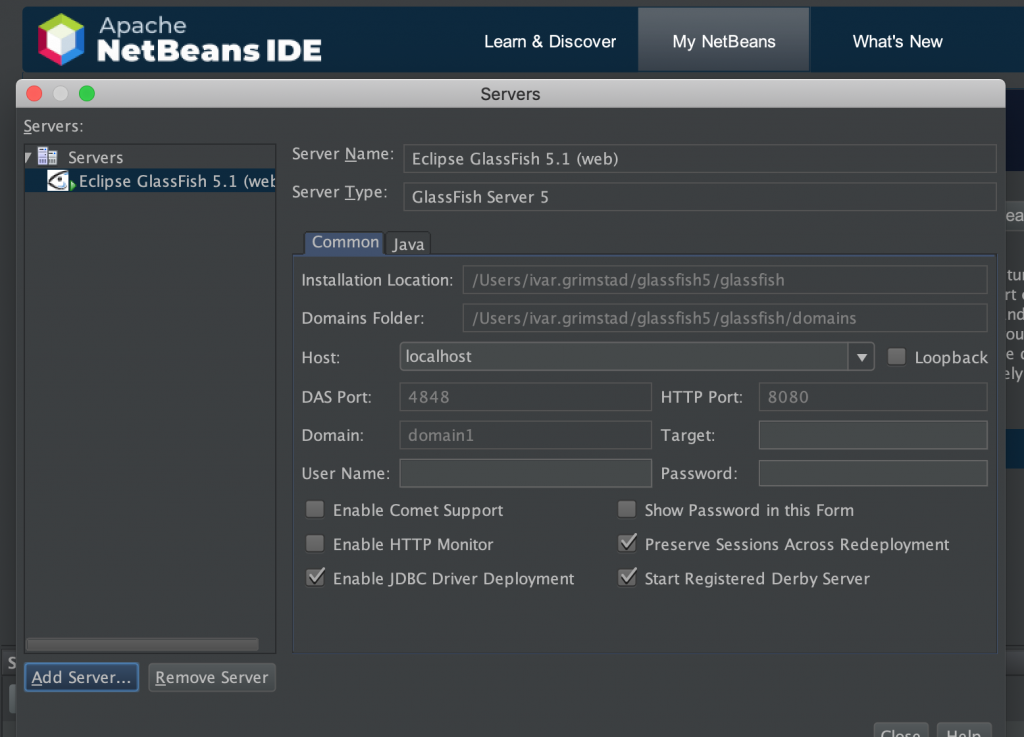
And while you’re at it, why don’t you try it out with Apache NetBeans as I have shown below.

Eclipse GlassFish 5.1 in Apache NetBeans 10

2018 Annual Summary

It’s this time of the year again. Time for the yearly summary of conferences, travels, community activities, open source projects, amazing people!

Like most recent years, I have been speaking at quite a few conferences around the World. The countries I visited as a speaker in 2018 were Sweden, Germany, USA, England, Denmark, France, Belgium, South Africa, Australia, and New Zealand.

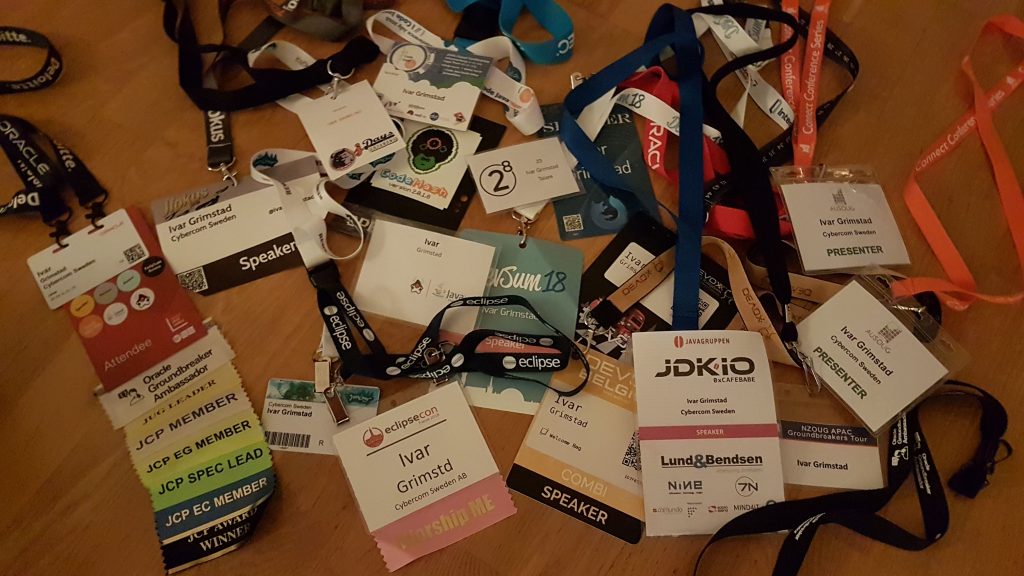
Speaker Appearances 2018

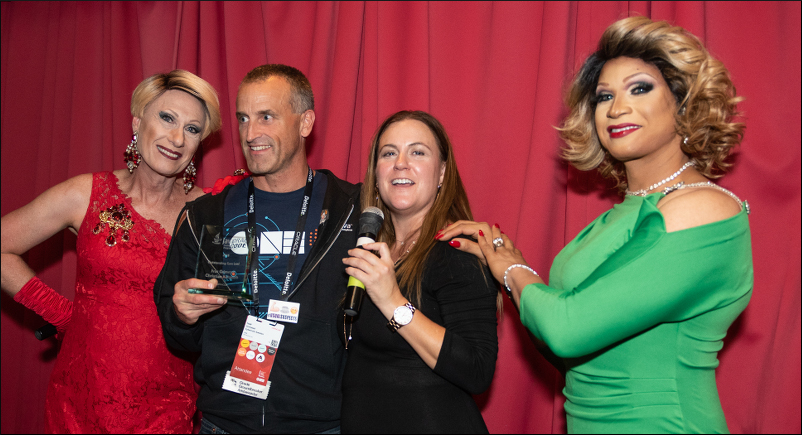
One of the highlights this year was to be awarded the JCP Outstanding Spec Lead Award together with Christian Kaltepoth for our work with JSR 371.

Getting the JCP Award for Outstanding Spec Lead 2018

Another acknowledgement by the community was to be re-elected for an associate seat in the JCP Executive Committee.

Besides speaking at conferences, a great deal of my time in 2018 was dedicated Jakarta EE at the Eclipse Foundation where I act as the PMC Lead of EE4J a well as being a member of the Steering-, Specification-, and Marketing Committees in the Jakarta EE Working Group.

All in all 2018 was an eventful year and I expect no less of 2019!

While Waiting for Jakarta EE

It is more than a year since Oracle announced the transfer of Java™ EE to Eclipse Foundation at JavaOne 2017. Since then, a lot has happened:

  • Java™ EE 8 API and implementation projects have been set up under EE4J.
  • The Eclipse GlassFish 5.1 release is approaching.
  • A brand new Jakarta EE specification process is right around the corner.
  • Community shows involvement regarding the technical direction of Jakarta EE.
  • The Jakarta EE NoSQL specification project proposal has been created.

This is all very good, excellent actually! When you think about the size of it all, it is actually quite an achievement. We are talking about 7.7 million lines of code! More than 60.000 files and a total of 38 new projects that have been set up at the Eclipse Foundation.

But, as everyone knows, developers are impatient and eager to try out everything new, so there are still a couple of questions that I always get when talking about Jakarta EE:

  • When can I start developing Jakarta EE applications?
  • How does Eclipse MicroProfile fit in this picture?

The answer to the first question is: “not yet”. Until the Jakarta EE specification process is finalized, the technologies are still Java™ EE. 

The answer to the second question differs a little depending on who you ask, but usually is something in the lines of “I am pretty sure that some of the MicroProfile specs will be integrated into Jakarta EE when they have proven to be useful”.

So, what should an eager developer do in the meantime? Switch to Spring Boot…ouch…or…JavaScript…squeal…?

NO, here is what you should do: Use the power of JavaEE 8 and combine it with Eclipse MicroProfile.

Many of the application server vendors have added MicroProfile features to their Java™ EE 8 compliant or certified application servers. Examples are Open Liberty, WildFly, Payara and Apache TomEE. See the respective vendor’s documentation for which versions they have included.

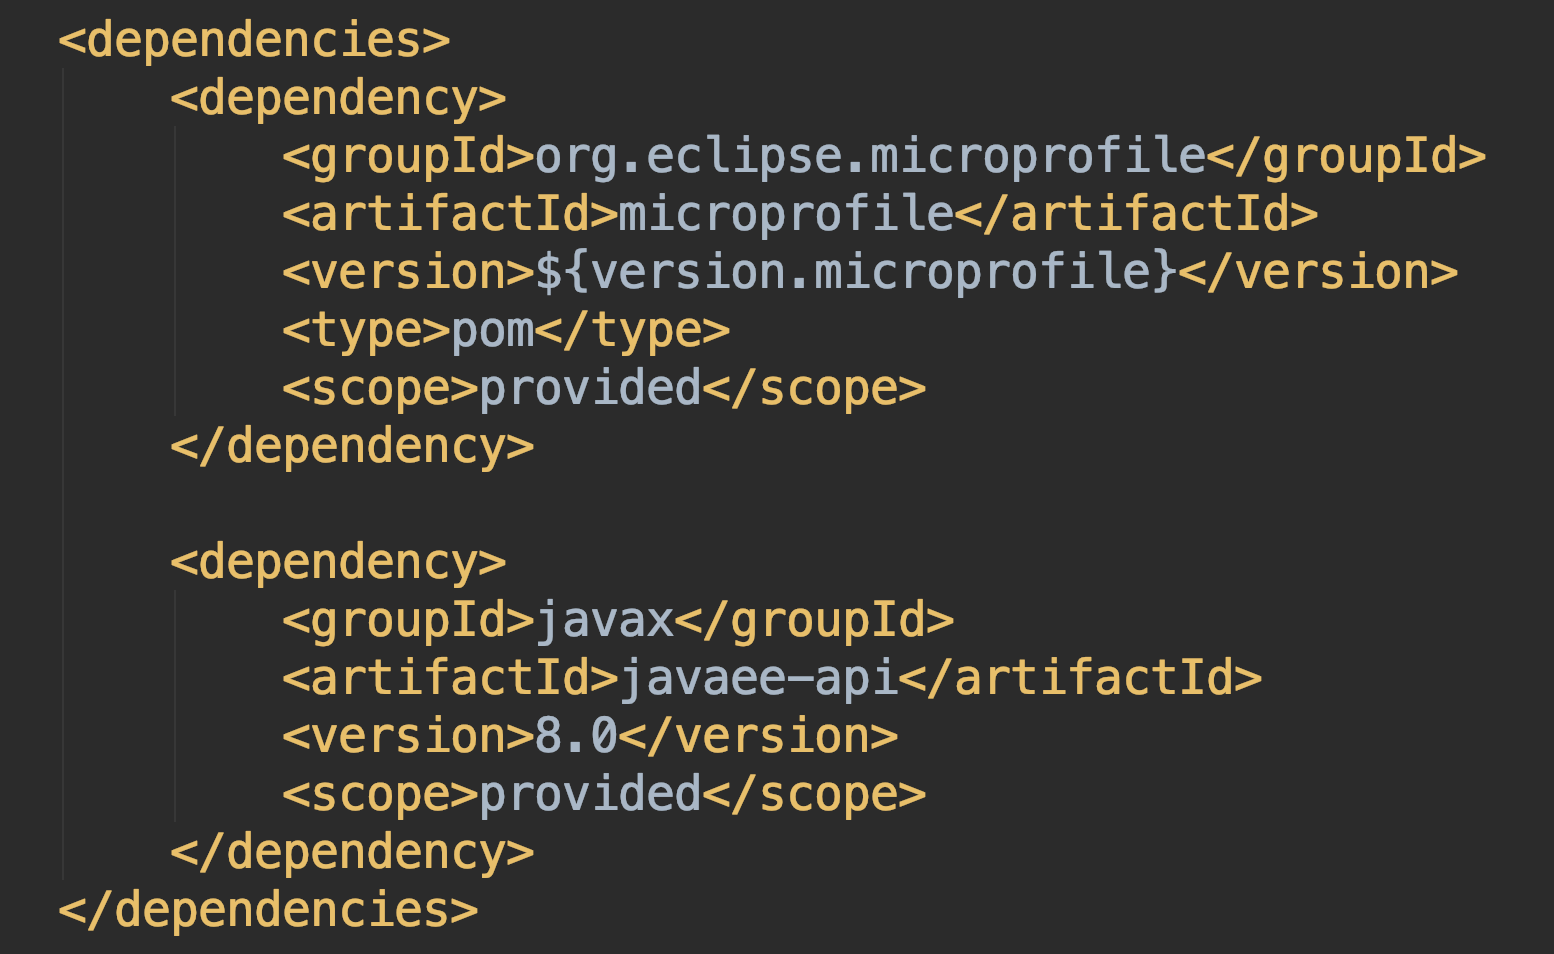
Java EE 8 with Eclipse MicroProfile 2.1

I have put together a simple application called Jakarta EE Duke to demonstrate how to do this. The application uses the @ConfigProperty annotation from MicroProfile Config to configure a message as well as the new @Email annotation from Bean Validation 2.0, which came with Java™ EE 8 to validate input.

While this example is extremely simple, it does indicate how you can combine the full power of Java™ EE 8 with the lightweight APIs of MicroProfile to implement cloud-native microservices using Java™ technology.

One last tip: Make sure to join the Jakarta EE Community Mailing list to always stay up-to-date on the latest development of Jakarta EE.

Ozark becomes Eclipse Krazo

One of the requirements for Eclipse Projects is that the name is not associated with any trademarks or potential trademarks. When we created the project proposal for Ozark, this turned out to be the case here. The name Ozark is simply used too many places for it to be a valid Eclipse project name.

So, how did we come up with the new name? First of all, we asked for input on the Ozark developer mailing list. We also wrote a small program that generated all permutations of ‘ozark’ to see if something cool came out of that.

public static void main(String[] args) {
    new Permutations().permutations("ozark").stream()
            .forEach(System.out::println);
}

Then we started filtering, discussion and voting until we ended up with Krazo, which turns out to be Ozark spelled backward. We are really excited about the new name and hope you all will join us in spreading the word that the reference implementation of MVC 1.0 that was previously known as Ozark is now called Eclipse Krazo.

JavaOne becomes Oracle Code One

My first JavaOne was in 1999 and I have attended almost every one since then, first as an attendee and since 2013 as a speaker. Attending JavaOne has always been one of the highlights of the year. This is where the community meets, announcements are being made and plans laid. I don’t think this will change even if the JavaOne name is replaced by Oracle Code One as was announced yesterday.

https://blogs.oracle.com/developers/javaone-event-expands-with-more-tracks-languages-and-communities-and-new-name

The most important aspect of JavaOne has always been the community and the people. It is kind of sad that the name goes away, but I am confident that we will be able to embrace Oracle Code One with the same community spirit as we did with JavaOne.

Running Eclipse MicroProfile on IBM Cloud

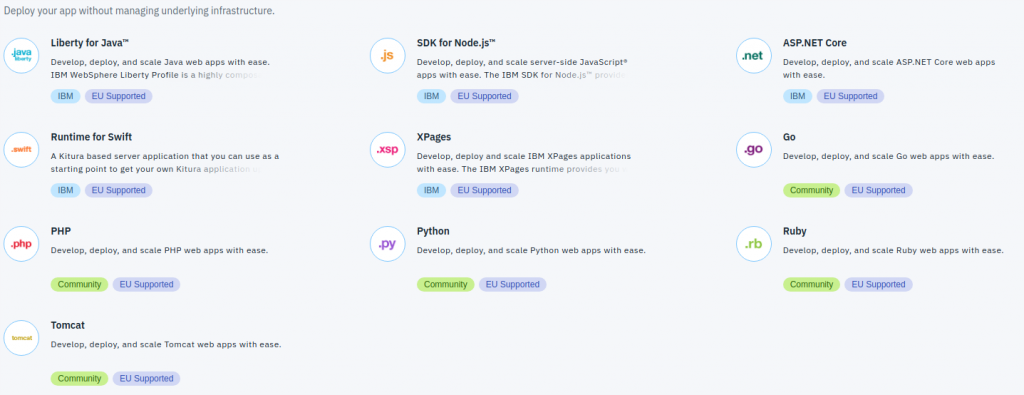
In this post, I am following up on the post series about Running Eclipse MicroProfile applications in Oracle Cloud by showing how to do it in IBM Cloud Foundry, which includes runtimes for Java, Node.js, ASP.NET Core, PHP, Python, Ruby, Swift and Go.

I am using the same simple application called CloudEE Duke as in the previous posts and will show how to deploy it in the Liberty for Java™ runtime. Since the liberty  profile is it is already configured to build using the Liberty Maven Plugin, the only thing you need to do is to activate this profile:

mvn clean package -Pliberty

See the complete pom.xml to see the complete configuration.

Since CloudEE Duke is an Eclipse MicroProfile application, you need to use the packaged server deployment option in order to activate the required features of Liberty. This is done by running the server package  command from the Liberty server directory produced by the Liberty Maven Plugin.

target/liberty/wlp/bin/server package defaultServer --include=usr

The server package  command produces a .zip file that can be pushed to IBM Cloud with the Cloud Foundry CLI as shown here:

cf push cloudee-duke -p target/liberty/wlp/usr/servers/defaultServer/defaultServer.zip

When your application is deployed, you should be able to access the hello endpoint

https://cloudee-duke.eu-gb.mybluemix.net/hello
Duke says Hello!

As ususal, you will also have the health and metrics endpoints provided by the MicroProfile implementation

https://cloudee-duke.eu-gb.mybluemix.net/health
{
outcome: “UP”,
checks: [ ]
}

https://cloudee-duke.eu-gb.mybluemix.net/metrics
# TYPE base:classloader_total_loaded_class_count counter
# HELP base:classloader_total_loaded_class_count Displays the total number of classes that have been loaded since the Java virtual machine has started execution.
base:classloader_total_loaded_class_count 10744
# TYPE base:gc_global_count counter

Run and Debug a WildFly Swarm application from NetBeans

Java EE developers using NetBeans are used to be able to run and debug their thin-war applications in their application server of choice directly from NetBeans. When developing microservices packaged as über-or hollow-jars, you expect the same effortless way of running and debugging. The good news is that you can. In this post, I show step-by-step how to run and debug the WildFly Swarm version of CloudEE Duke in NetBeans.

Run WildFly Swarm application

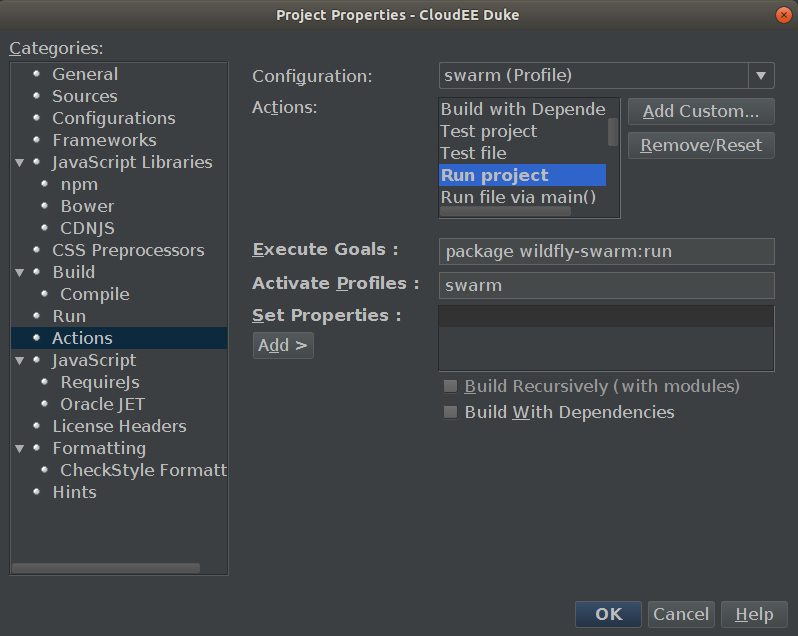
The easiest way of running CloudEE Duke in NetBeans is to edit the Run project action for the project. Right click on CloudEE Duke, select properties and Actions as shown below.

Configure the Execute Goals to package wildfly-swarm:run, remove all the default properties and your’re all set. Run Project (F6 ) will start the application using the WildFly Swarm Maven Plugin.

Debug WildFly Swarm Appliction

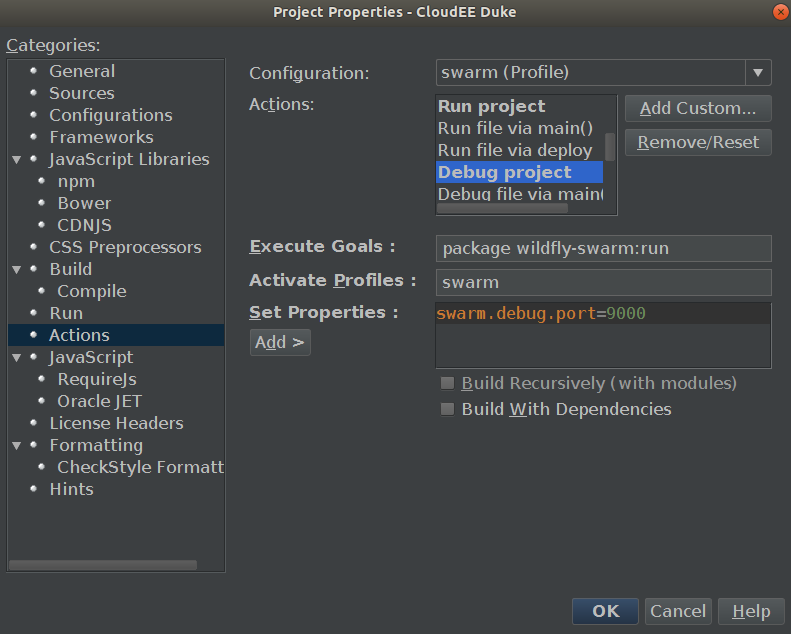
To enable debugging, you follow the same steps as described above, but in this case it is the Debug Project action you select.

Execute Goals is configured the same way as for Run, but in the Set Properties, you need to configure a debug port for WildFly Swarm. This is done by setting the swarm.debug.port property, e.g. to 9000.

Debug Project Ctrl-F5 will start the application in debug mode. Note that the execution will halt while waiting for the debugger to attach. See the screenshot below for how it will look in the log.

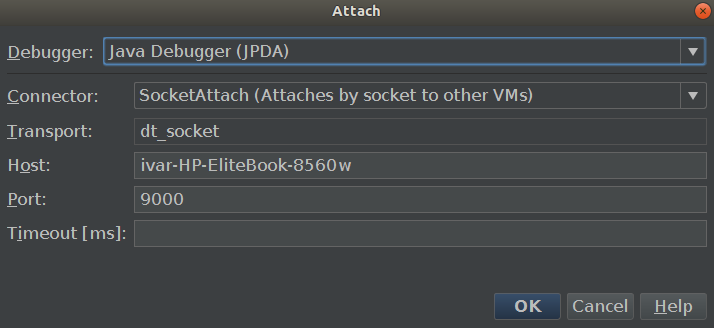
Select Debug->Attach Debugger from the menu in NetBeans. Change the value for Port to 9000 (or the value you chose in the previous step) and click OK.

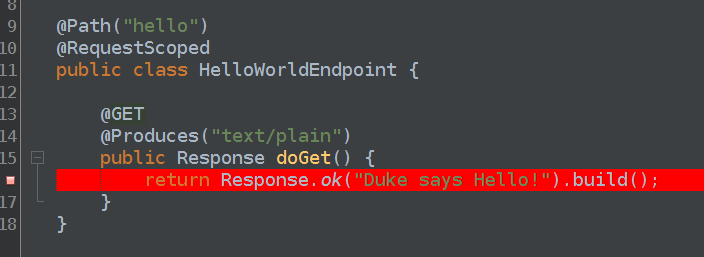
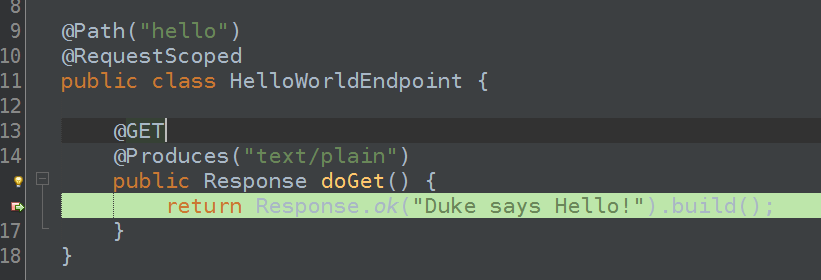
To verify the setup, set a breakpoint at line 16 in the class HelloWorldEndpoint.

Then navigate to http://localhost:8080/hello. The execution will stop at the breakpoint at line 16 in HelloWorldEndpoint.